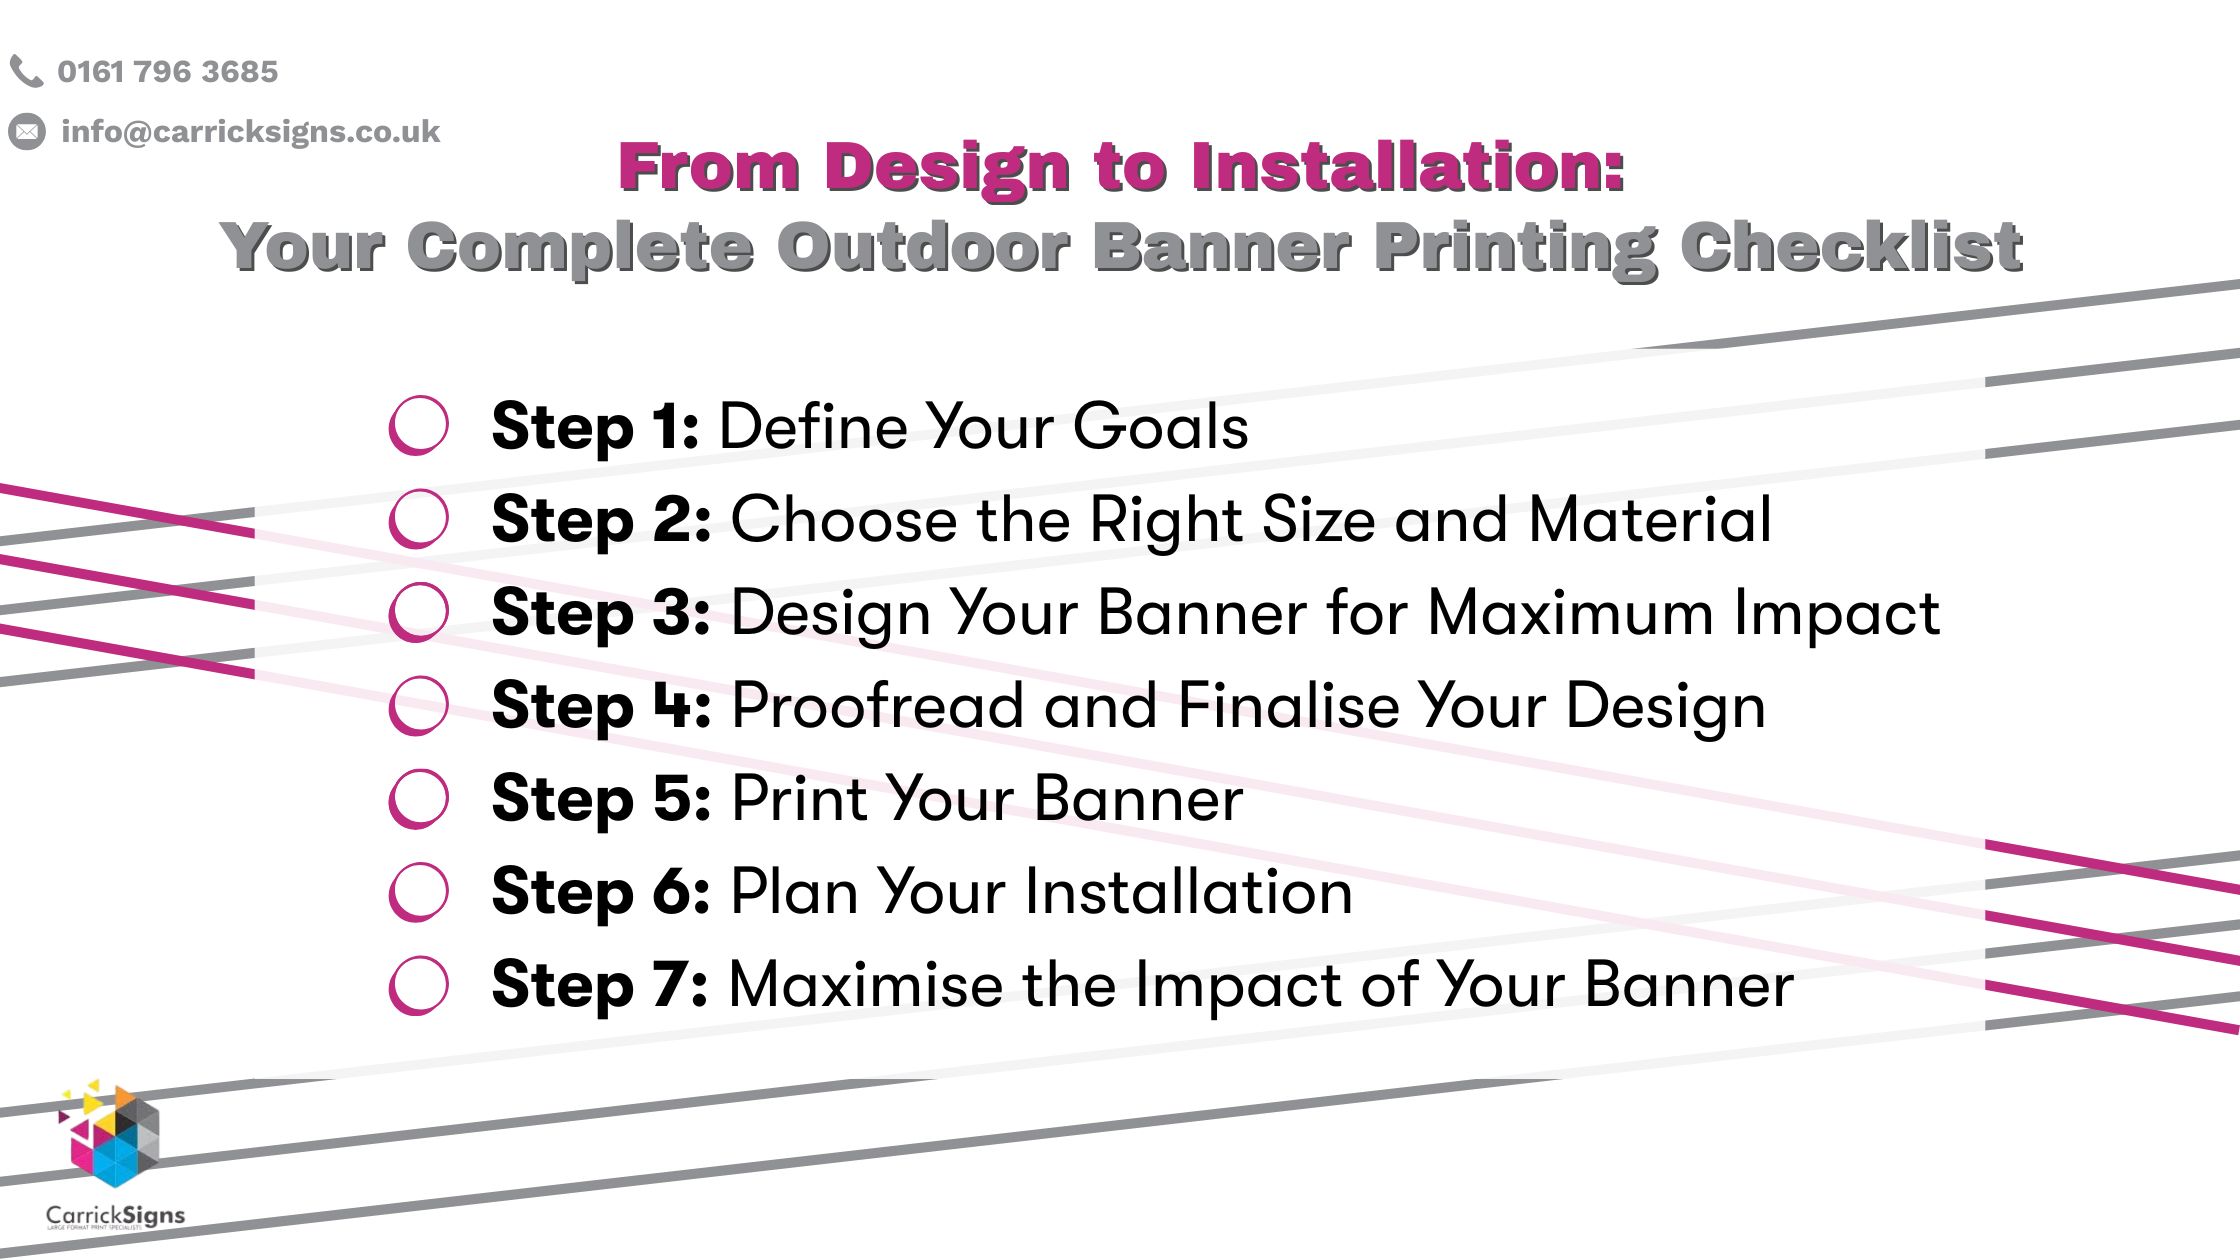
From Design to Installation: Your Complete Outdoor Banner Printing Checklist
Posted on by Matt Roscoe

Outdoor banners effectively promote your business, event, or promotion. But creating a banner that grabs attention and delivers results requires careful planning, the right materials, and a professional approach. This checklist guides you through every step to ensure your banner has maximum impact.
Step 1: Define Your Goals
The first step is simple: define the purpose of your banner. Are you promoting an event, announcing a sale, or raising brand awareness? Understanding the goal provides the focus you need to make informed decisions about size, design, and materials.
A clear goal ensures your banner aligns with your marketing strategy. Once you know the objective, making decisions about everything that follows becomes easier.
Clarifying your banner’s purpose makes it easier to design with intent and focus.
Mandy Roscoe, Managing Director at Carrick Signs
Step 2: Choose the Right Size and Material
The size and material of your banner are essential to its performance. For outdoor use, vinyl is the top choice, offering durability and weather resistance. If wind is a concern, mesh banners are ideal. For indoor use, fabric banners provide a sleek, professional appearance.
When choosing size, think about the distance from which your audience will view the banner. Larger banners are best for high-traffic or street-facing locations, while smaller ones are better suited for close-up settings, such as event booths.
Step 3: Design Your Banner for Maximum Impact
An effective banner needs to catch attention immediately. Keep your design clean and simple, using bold colours that make your message pop. Our top tips are:
Keep your headline short (no more than 5-7 words)
Make sure your logo and contact information are clearly visible
Add a call to action (CTA)
A strong CTA guides your audience to take the desired action. For example, use instructions like “Visit our website” or “Call for details.” Focus on what matters most and avoid overloading your design with too much text or imagery. Less is often more.
Step 4: Proofread and Finalise Your Design
Once your design is finalised, double-check everything. Ensure there are no spelling errors, incorrect dates, or missing details. Verify that your logo, colours, and fonts align with your branding.
This step is crucial. A banner with mistakes can damage your credibility and make your business appear unprofessional.
Step 5: Print Your Banner
Once your design is finalised, it’s time to send it off for printing. To ensure the best results, make sure your artwork meets these key specifications:
Specification | What You Need To Do |
|---|---|
Colour Mode | Send your artwork in CMYK format. Using other colour formats (like RGB) may result in colours not matching what you expect when printed. |
File Size & Scale | Create your artwork at the final size you want it printed. Avoid enlarging small files (e.g., A4 to A0), as this may cause pixelation. Keep it in scale. |
File Format | Use PDF or high-quality JPEG. These formats maintain quality and are easy for our printers to process. We prefer PDF for vector-based files. |
Crop Marks & Bleed | Include 3mm to 5mm bleed for edge-to-edge prints. This is especially important for cut-to-shape designs. Ensure your artwork includes crop marks if necessary. |
Cut Path (for custom shapes) | For cut-to-shape prints, provide a vector cutting path. This path must be in a PDF vector format—we can't use bitmap files for cutting paths. |
Fonts & Outlines | Convert fonts to outlines or curves to prevent missing fonts or unexpected changes. This ensures that your text stays consistent and editable. |
Following these guidelines ensures your banner is printed accurately and looks exactly as you envisioned. Proper preparation avoids common printing issues, like colour mismatches or distorted text.
Step 6: Plan Your Installation
Now that your banner is ready, think about how and where it will be displayed. For outdoor banners, secure installation is a must. Make sure you have the correct mounting accessories, such as grommets or pole pockets, to keep the banner securely in place.
If the banner is for indoor use, consider a retractable stand or a mounted frame for quick setup and a polished look.
Plan your installation ahead of time. Knowing exactly where and how to hang your banner ensures it’s properly displayed and secure.
Step 7: Maximise the Impact of Your Banner
Once your banner is up, it’s time to maximise its effectiveness. Consistency across all your marketing materials strengthens your message. If your banner is part of a larger campaign, make sure the design is reflected in your flyers, posters, and digital ads.
Repetition is powerful. The more your audience sees the same message, the more likely they are to remember it and act on it.
Ready to Create a Banner That Delivers Results?
With this checklist, you have all the tools you need to create a banner that works. From defining your goals to installation, each step ensures your banner will stand out, communicate your message effectively, and drive results for your business.
At Carrick, we provide expert advice, high-quality printing, and professional installation to make sure your banner is a success. Ready to get started? Contact us today for more information.